Running R on Your Own Computer
Here are instructions for downloading R and using R on your computer
- R is the program that does the calculations
- RStudio is the program you open to work with R
Both are free and must be installed on your computer.
Step 1: Install R
R must be installed before RStudio.
Go to:
https://cran.r-project.org/Click on your operating system:
- Windows: Download R for Windows → base → Download R
- macOS: Download R for macOS and choose the newest
.pkgfile - Linux: Follow the instructions for your system
Open the downloaded file and follow the installation steps
(you can accept all default options)
Step 2: Install RStudio
RStudio is the program you will use every time you work on assignments.
Download RStudio Desktop (Free)
Open the installer and follow the steps
Open RStudio when installation is complete
Step 3: Create a Course Folder on Your Computer
Before you open RStudio, make one folder on your computer where you will keep all GEOG321 files.
This will make it much easier to find your assignments and your final HTML files.
On your computer, create a new folder named GEOG321:
Windows (PC):
Open File Explorer → go to This PC → Local Disk (C:) (or Documents) → New folder → name it GEOG321macOS (Mac):
Open Finder → go to Macintosh HD → Users → your-username (or Documents) → New Folder → name it GEOG321
Move all course files into this folder (downloaded assignments, data files, images, etc.).
Keep everything for the course in the GEOG321 folder.
Step 4: Find and Open Your Files in RStudio
Once your files are in your GEOG321 folder, you will use RStudio to navigate to that folder and open what you need.
Opening an existing assignment file
- Open RStudio
- In the Files panel (bottom right), click … (More) or Browse (wording may vary)
- Navigate to your GEOG321 folder on your computer
- Click the assignment file (for example, an
.Rmdfile) to open it
If you don’t see the file you expect, it usually means it was saved in Downloads or another folder—move it into GEOG321 first.
Creating a new file (if needed)
Most of the time, you will use prepared course files. If you need to create a new one:
- Click File → New File
- Choose R Script or R Markdown
- When you save it, save it inside your GEOG321 folder
R Markdown: Running Your Code
Most assignments will use R Markdown (.Rmd) files.
An R Markdown file contains:
- Text (instructions and answers)
- Code (inside gray boxes called code chunks)
- Output (plots, tables, numbers)
Running Code
- Click the Run button (▶) at the top of a code chunk
- The result will appear below the code
Creating Your Final File
When you are finished:
- Click Knit
- An HTML file will be created automatically
This is the file you submit to myCourses.
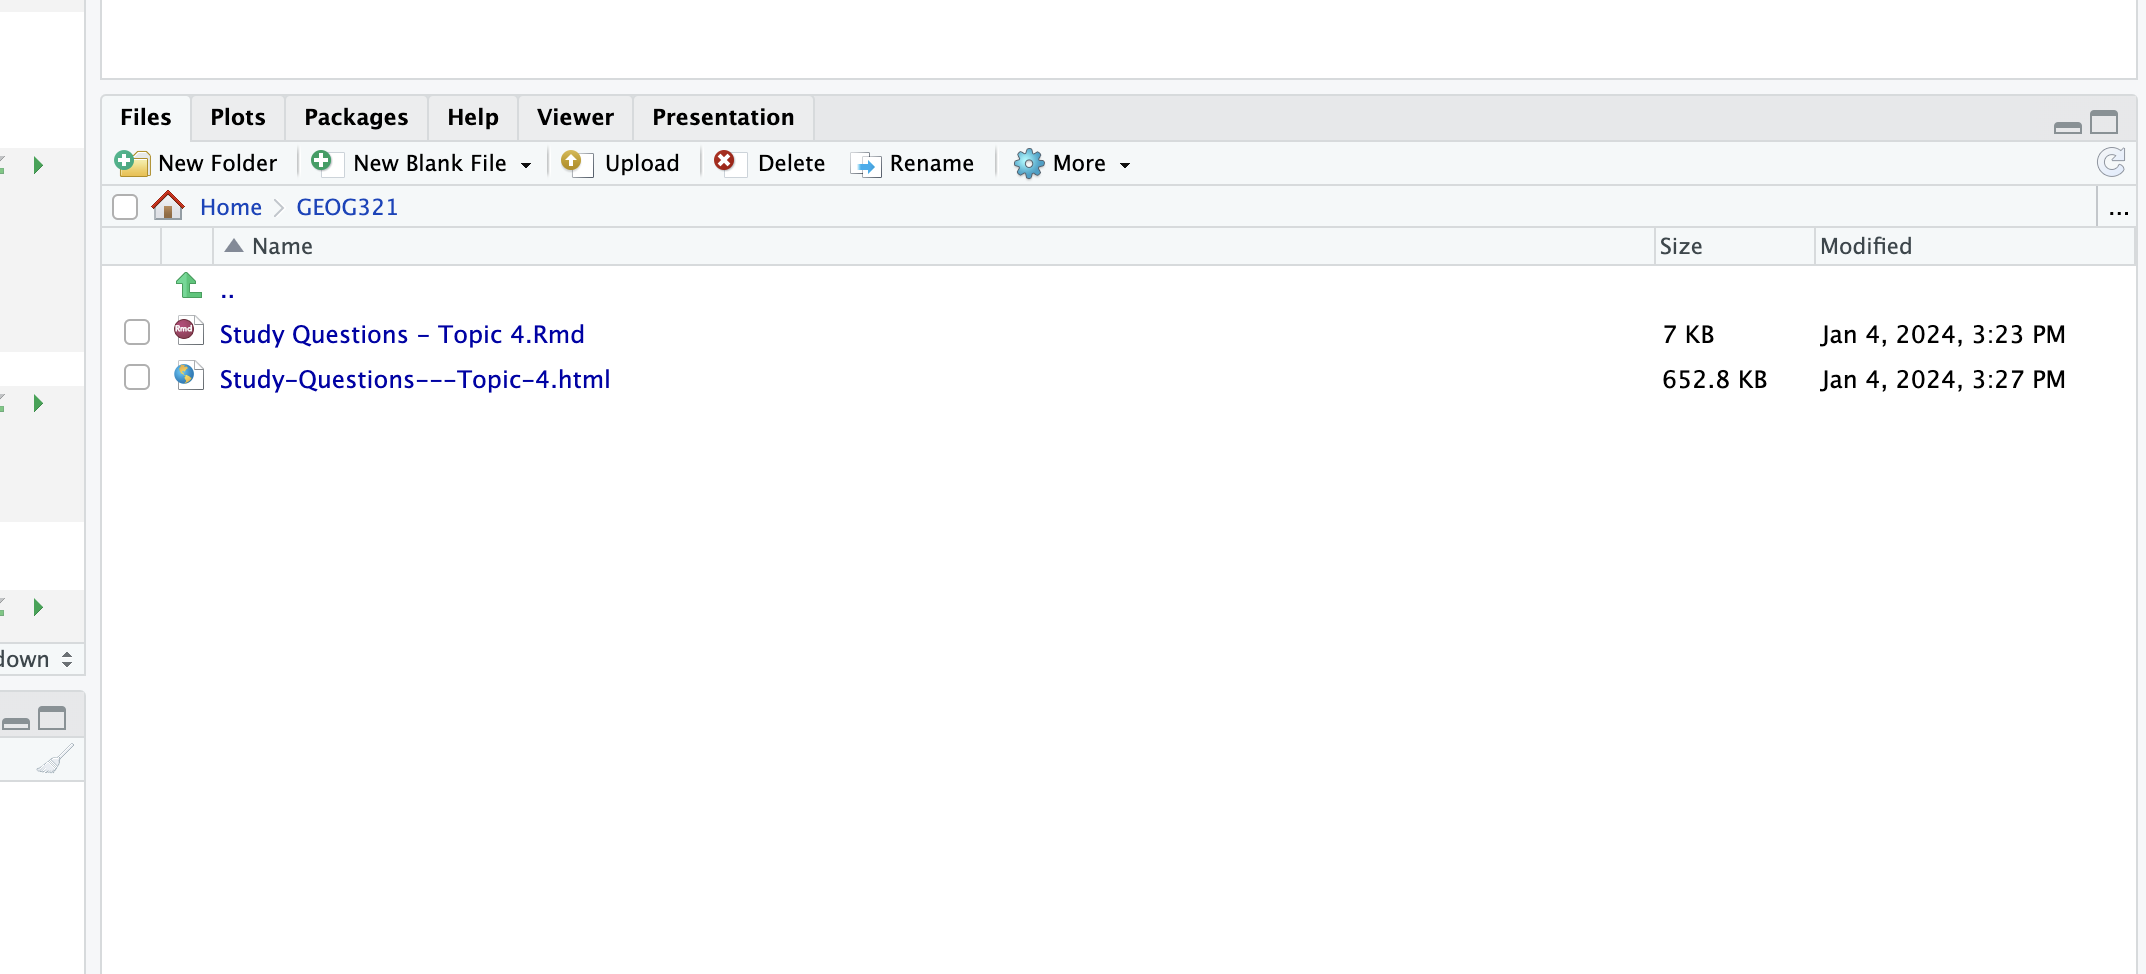
Submitting to myCourses
When you knit, your HTML file is saved in the same folder as your .Rmd file (your GEOG321 folder).
- Open your GEOG321 folder on your computer
- Find the HTML file
- Upload the HTML file (not the
.Rmdfile) to myCourses
Note: Sometimes graphs do not display inside myCourses. This is normal.
The TA will download your file and everything will display correctly.
Common Installation Problems
RStudio opens but R does not run
- Make sure R is installed first
- Restart your computer
- Reopen RStudio
RStudio says it cannot find R
- R was not installed correctly
- Reinstall R from https://cran.r-project.org/
- Then reopen RStudio
macOS: “Developer cannot be verified”
- Go to System Settings → Privacy & Security
- Click Open Anyway
- Continue with the installation
Still having problems?
- Bring your laptop to office hours